

Raising Children
Don’t Let Those Summer Photos Sit on Your Phone: Try This
Summer may be ending, but the memories don’t have to. Turn your favorite family photos into a simple DIY album your kids will love making.
- Tehila Cohen
- | Updated
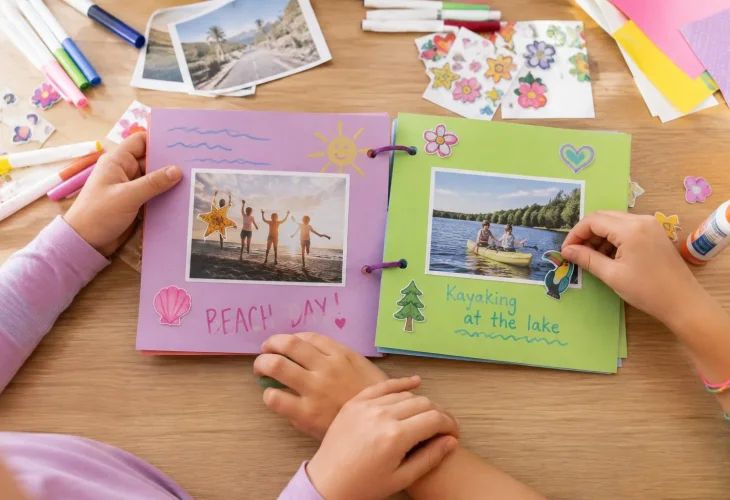
A day at the beach, a family outing, a fun trip to the zoo. Over summer break, we capture countless special moments, but most of those photos end up sitting on our phones and are eventually forgotten.
Now that summer vacation is coming to an end, or school has already begun, it’s the perfect time to look back through those photos together. Revisit your favorite experiences and turn them into a small summer memory album that your children can enjoy long after summer is over.
What You’ll Need
- Printed photos from summer break
- Poster board or thick, colorful paper
- Scissors
- Glue
- Markers and coloring supplies
- Stickers and decorations
- Hole punch
- Ribbon, thick string, or small metal rings
How to Make Your Summer Memory Album
1. Choose the Photos
Look through your summer photos together and ask each child to choose the moments they most want to remember. Don’t feel that you have to include only vacations, trips, and big events. Sometimes a photo of breakfast together, a game at home, or an afternoon with a friend becomes a child’s favorite memory.
2. Prepare the Album Pages
Cut equal-sized rectangles from the poster board, making them slightly larger than the photos. Your album can be square or rectangular, or you can make it more playful by shaping it like a popsicle, sun, or suitcase. Set aside one page for the front cover and another for the back.
3. Glue and Decorate
Glue one or two photos onto each page, leaving space for drawings, stickers, or a few words about the memory. Kids can write where the photo was taken, who was there, and what they remember as the funniest or most exciting part of the day.
4. Add Personal Pages
Make the album even more meaningful by adding a few pages about each child’s favorite summer experiences. For example:
- The funniest moment of my summer
- The place I loved most
- The tastiest thing I ate
- Something new I learned
- Something I want to do again next summer
Younger children can draw their answers instead of writing them.
5. Bind the Album
Arrange the finished pages in the order you like, then punch two holes along one side. Thread ribbon or thick string through the holes and tie it loosely enough for the pages to turn easily. Small metal rings are another simple option.
6. Design the Cover
Write your child’s name and the year on the cover, then decorate it with things that remind them of summer, such as a sun, ice cream, the beach, or watermelon. You can also place their favorite photo from the summer in the center.
The Most Important Part: Talk About the Memories
The finished album is lovely to have, but making it together can be just as meaningful.
As you choose the photos, ask your children what they remember about each experience. What made them laugh? What surprised them? What was their favorite part? What would they love to do again next summer?
If school has already started, you can also ask what they miss most about summer and what they’re looking forward to in the new school year.
These simple questions can turn an afternoon craft into a warm family conversation. At a time when children are transitioning from the freedom of summer back into the routines of school, looking through happy memories together can be a wonderful way to mark the end of one season and the beginning of another.

